A Step-by-Step Guide to Using a Can Sealer Machine Correctly
A Step-by-Step Guide to Using a Can Sealer Machine Correctly
Operating a can sealer machine might seem straightforward—place a lid on a can and pull a lever—but achieving a consistent, airtight seal requires a methodical approach. Whether you are a first-time user or training new staff on an existing closing machine, following a standardized procedure is the only way to ensure package integrity and product safety. A can sealer machine is a precision instrument, and treating it as such will prevent costly leakers and production delays. This step-by-step guide will walk you through the correct operation of a can sealer, from initial setup to final quality checks, helping you get the most out of your equipment every single cycle.
Step 1: Pre-Operation Setup and Calibration
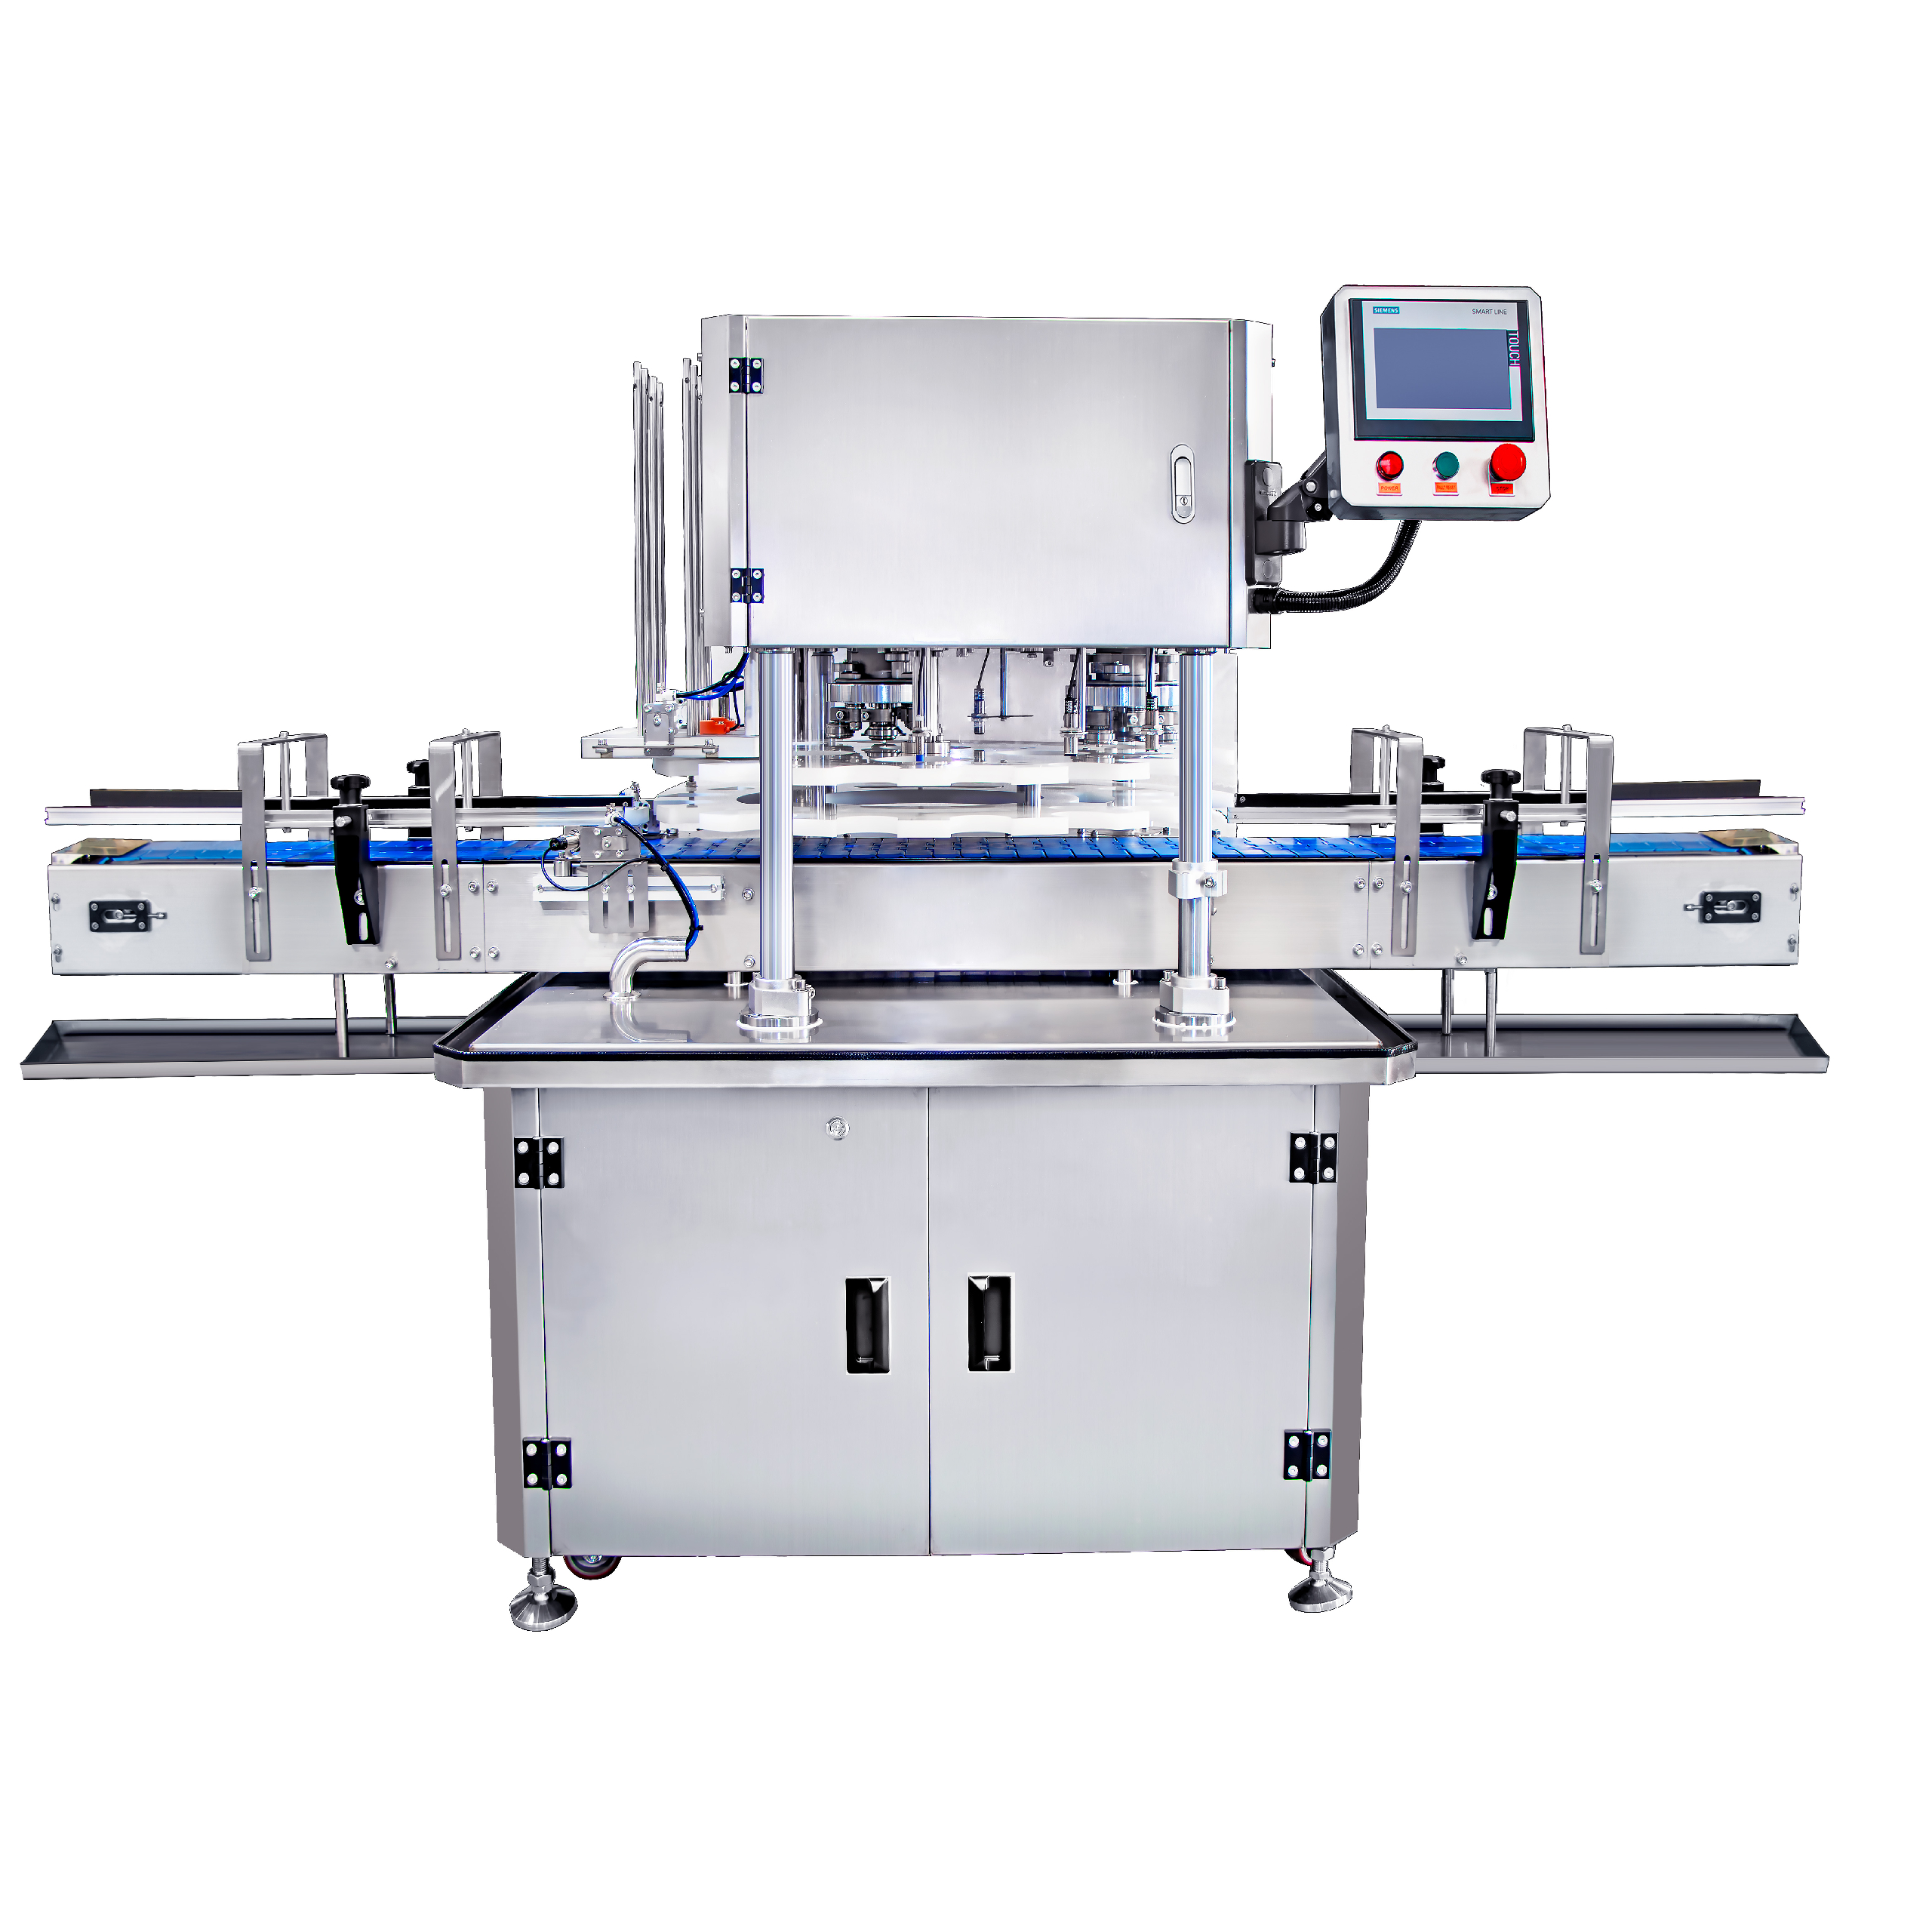
Before you even place a can into your can sealer machine, you must ensure the machine is configured for the specific package you are running. Start by selecting the correct change parts for your can size. This includes the seaming chuck, which holds the lid in place, and the base plate, which supports the can body. If your sealing machine is equipped with change parts for a different diameter, the seal will fail. Once the correct tooling is installed on your can sealer machine, check the seaming rolls. These rolls should spin freely and be free of nicks or built-up debris. Finally, if your closing machine requires lubrication, verify that the oil levels are adequate and that food-grade grease has been applied to the moving parts. A properly prepared can sealer is the foundation of a successful production run.
Step 2: Executing the Perfect Sealing Cycle
With the can sealer machine properly set up, you can begin the actual sealing process. First, ensure your can is filled to the correct headspace. Too much product can interfere with the lid placement and the seaming operation of your sealer. Place the can end (lid) squarely onto the can body. Gently place the can onto the base plate of the can sealer machine, ensuring it is centered under the seaming chuck. Now, initiate the cycle. On a semi-automatic sealing machine, this typically involves pulling a lever or pressing a button to lift the can into the chuck. Watch as the can sealer performs the first operation roll, which curls the lid around the can flange. The machine will then automatically engage the second operation roll, which presses the seam flat. Do not interrupt the cycle. Let the closing machine complete its full sequence before lowering the can.
Step 3: Post-Sealing Inspection and Machine Maintenance
The job is not done once the can exits the can sealer machine. Immediately after sealing, you must perform a visual inspection. Look at the top and bottom of the seam. It should be smooth and uniform all the way around with no visible "V" cuts or sharp edges. A quality sealer will produce a seam with a consistent thickness. After confirming the seam looks correct, it is time to tend to the can sealer machine itself. Remove any product spills or debris from the seaming area. This is critical because dried-on residue can throw off the alignment of the next cycle. Wipe down the seaming rolls and the base plate. If your closing machine has been running for an extended period, check the manufacturer's guidelines for end-of-day maintenance, which may include more thorough cleaning and lubrication. Proper care after using your can sealer ensures it remains accurate and reliable for the next shift.